Route
Junction number
27
Markerpost
107 km
Name
Gildersome Interchange
Type
Non-standard interchange
Terminus
Not a terminus
Other routes
M621, A62, A650
Authority
Restricted turns
Full access
Services
No services
27
107 km
Gildersome Interchange
Non-standard interchange
Not a terminus
M621, A62, A650
Full access
No services


 Variable Speed Limits apply Variable Speed Limits apply
When a road is closed, why isn't the diversion route just the quickest way past the closure?
The one great attempt to make London’s streets logical - and how one retired chauffeur’s favourite routes changed the way you get around the capital.
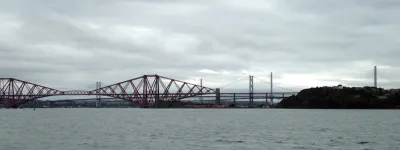
There's plenty of pictures of the three magnificent bridges over the Firth of Forth at Queensferry. But not many are taken from beneath.
Published
Last updated

