M1 J13 Ridgmont Interchange

Layout and signage

Milton Keynes (S)
Bedford
A421 Link
Ampthill
A507
  A421


A421


A507
  Bedford
A421 Link
Woburn
Ampthill
A507

Lane configuration

LanesLanesLanesLanesLanesLanes

  • Lane 1 exits and does not return (part time using the hard shoulder).
  • Lane 2 continues, with option to exit.
  • Lane 3 continues ahead.
  • Lane 4 continues ahead.
  • Then further along:
  • Lane 1 is gained from the entry sliproad.
  • Lane 2 continues ahead.
  • Lane 3 continues ahead.
  • Lane 4 continues ahead.

LanesLanesLanesLanesLanesLanes

  • Lane 1 exits and does not return.
  • Lane 2 continues ahead.
  • Lane 3 continues ahead.
  • Lane 4 continues ahead.
  • Then further along:
  • Lane 1 is gained from the entry sliproad (part time using the hard shoulder).
  • Lane 2 continues ahead.
  • Lane 3 continues ahead.
  • Lane 4 continues ahead.

Other events

  • Signs Variable Speed Limits apply
  • Signs Variable Speed Limits apply

In this section

What's new

The long way round

When a road is closed, why isn't the diversion route just the quickest way past the closure?

Signs and sensibility

The one great attempt to make London’s streets logical - and how one retired chauffeur’s favourite routes changed the way you get around the capital.
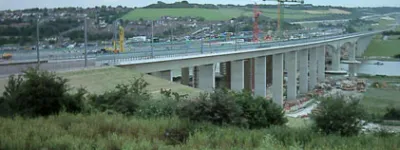
A bridge under troubled bridges

A bridge that was ruined by another bridge, and a type of highway planning beyond any of the UK’s worst nightmares.

Share this page

Have you seen...

New Medway Viaducts

Taken over the course of two years, from 2002 to 2003, these sixteen images chart the construction of two new bridges alongside the M2 Medway Viaduct.

About this page

Published

Last updated