Route
Junction number
None
Markerpost
Unknown
Name
Beckton Alps Interchange
Type
Terminus
Not a terminus
Other routes
A117
Authority
Restricted turns
Full access
Services
No services
None
Unknown
Beckton Alps Interchange
Not a terminus
A117
Full access
No services
|
East Ham Beckton A117 |
A117 | 
|
A117 |
East Ham Beckton A117 |


The one great attempt to make London’s streets logical - and how one retired chauffeur’s favourite routes changed the way you get around the capital.
What might it have been like to stand in one spot and witness the arrival, and the uncertainty, of plans for an urban motorway in West London?
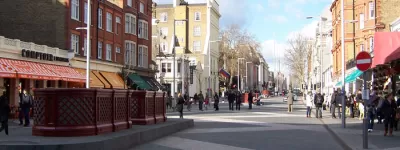
The UK's biggest "shared space" is a phenomenally expensive experiment in West London. How does it work?
Published
Last updated
