Route
Junction number
None
Markerpost
99.6 km
Name
Canterbury South Interchange
Type
Non-standard interchange
Terminus
Not a terminus
Other routes
A2050
Authority
Restricted turns
Some turns restricted
Services
No services
None
99.6 km
Canterbury South Interchange
Non-standard interchange
Not a terminus
A2050
Some turns restricted
No services
|
Canterbury A2050 |

|
A2050 |
Bridge |


The one great attempt to make London’s streets logical - and how one retired chauffeur’s favourite routes changed the way you get around the capital.
What might it have been like to stand in one spot and witness the arrival, and the uncertainty, of plans for an urban motorway in West London?
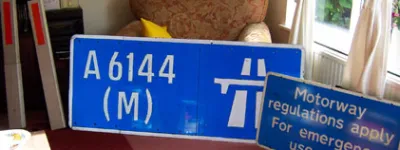
The lowly and pathetic A6144(M) motorway was downgraded in May 2006. This is the story of the mission to rescue some memorabilia.
Published
Last updated
